Installing Formers in a Fiberglass
Fuse
This article is based on epoxy fiberglass fuse
and this method works equally well to polyester resin fuses, the only
difference is using polyester laminating resin instead of an epoxy resin.
(don't use epoxy on polyster fuses or poly on epoxy fuses). One
of my local buddies showed me this method several year ago, have seen
this method done on many high-end fiberglass kits and I now only install
formers this way as I find it very easy to do.
What you need before you install your
formers in the fiberglass fuse.
- You need to test fit the formers
- Mark the location of the former on the outside
with a Sharpie pen
- Sand the inside where you have marked and clean
the inside from dusts
- Rub the inside with cloth damped with Acetone
What you need to get started.
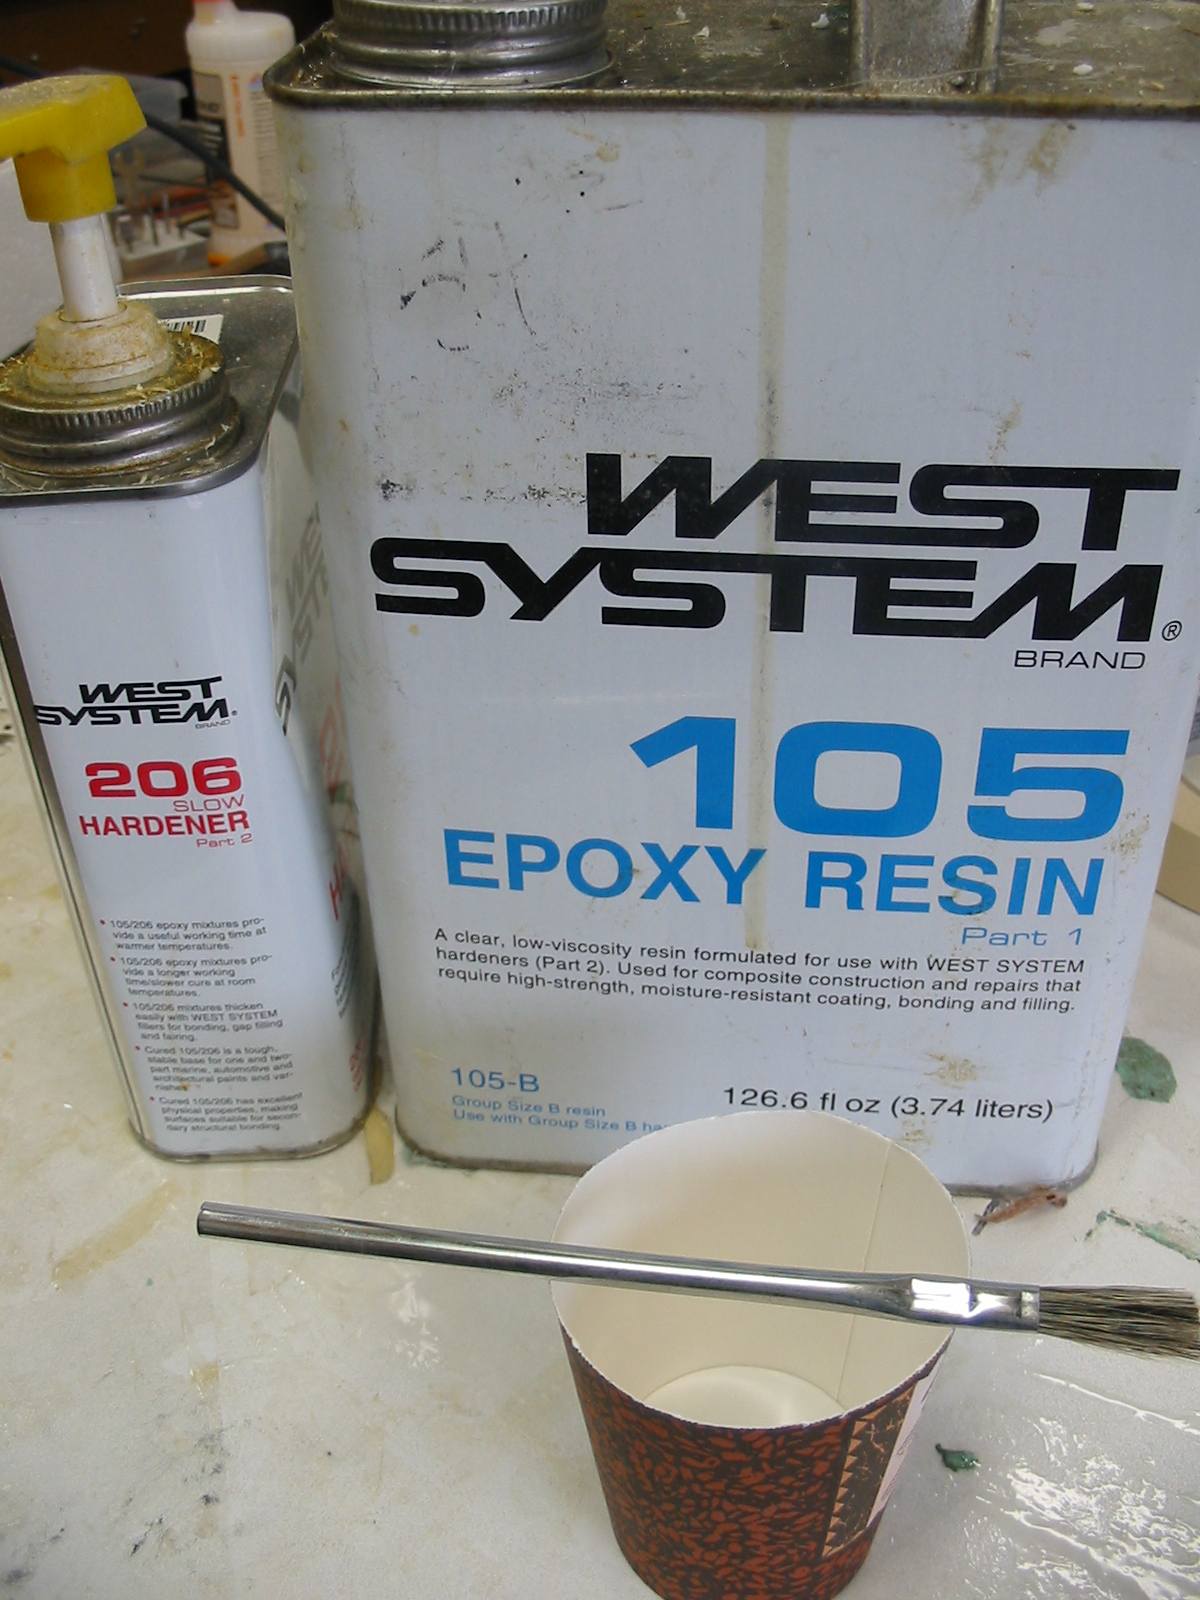
- Epoxy. You will need something that is similar
to West System Resin #105 and hardener #206. West System is a low viscosity
epoxy resin and does not require any thinning agents. The 206 will dry
rock solid in less the 24 hours at 70 degree and can be handled in 6-8
hours. The #206 hardener can be used before it starts to gel in about
20-30 minutes depending on temperature. The product does not recommend
adding any thinning agent as it affects cure rate and physical properties.
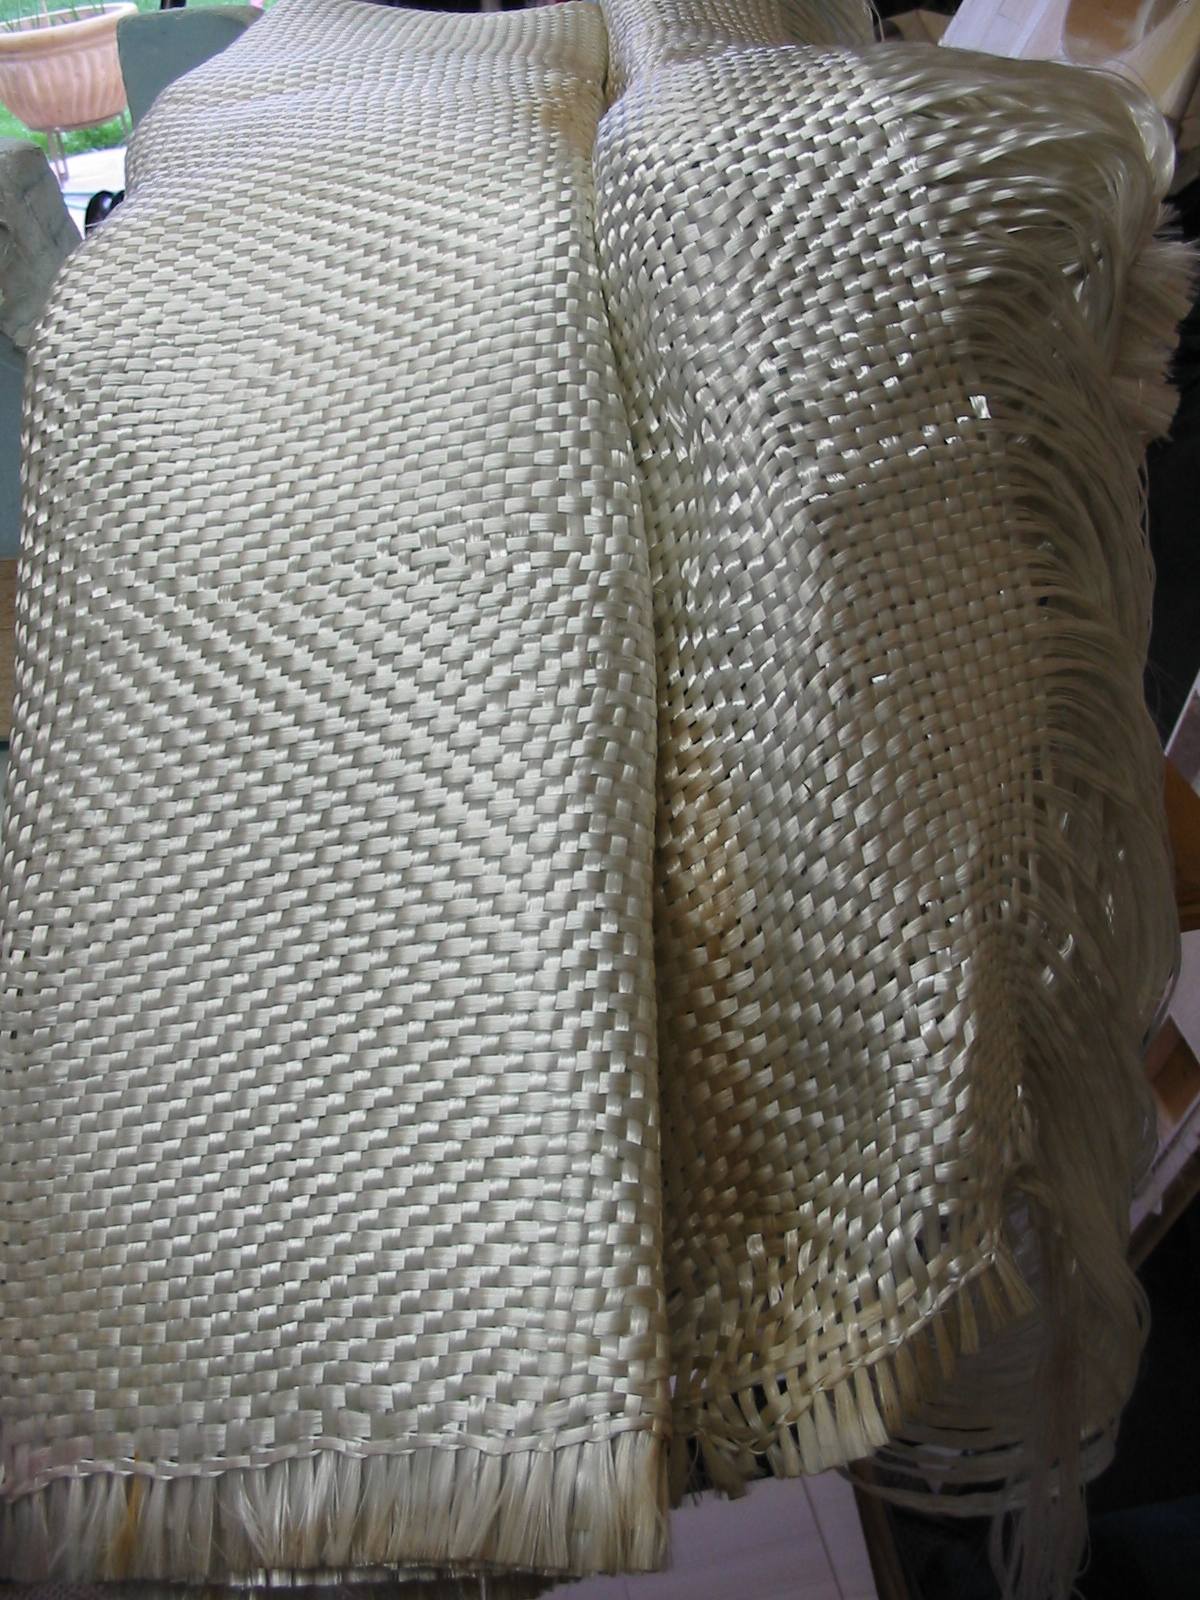
- Fiberglass tow. You can purchase this
in a roll or you can purchase a heavy woven roving material 40oz per
square yard. A single yard of this stuff will last a lifetime.
- Acid Brush, mixing cup and a cardboard you can
throw away.
Installing the former
- First, place your former into the fuse and CA
in several places so that it will not move when you apply the fiberglass
tow.
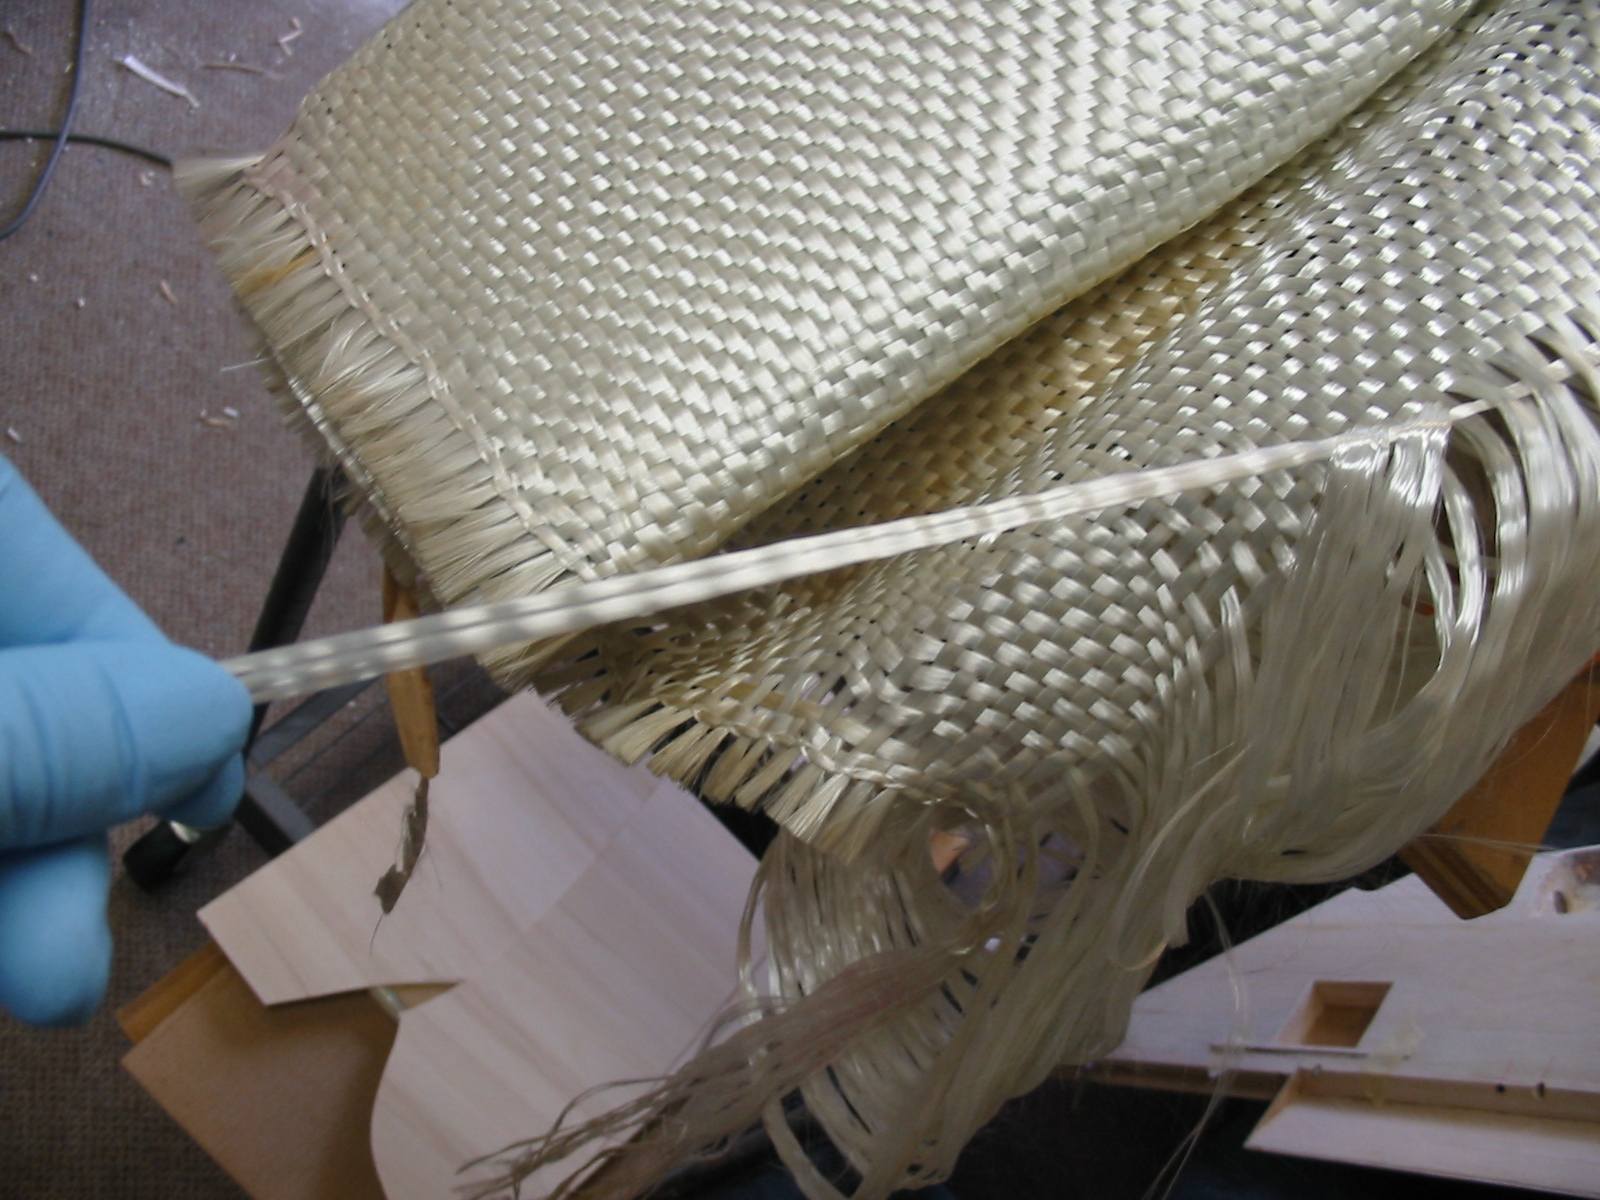
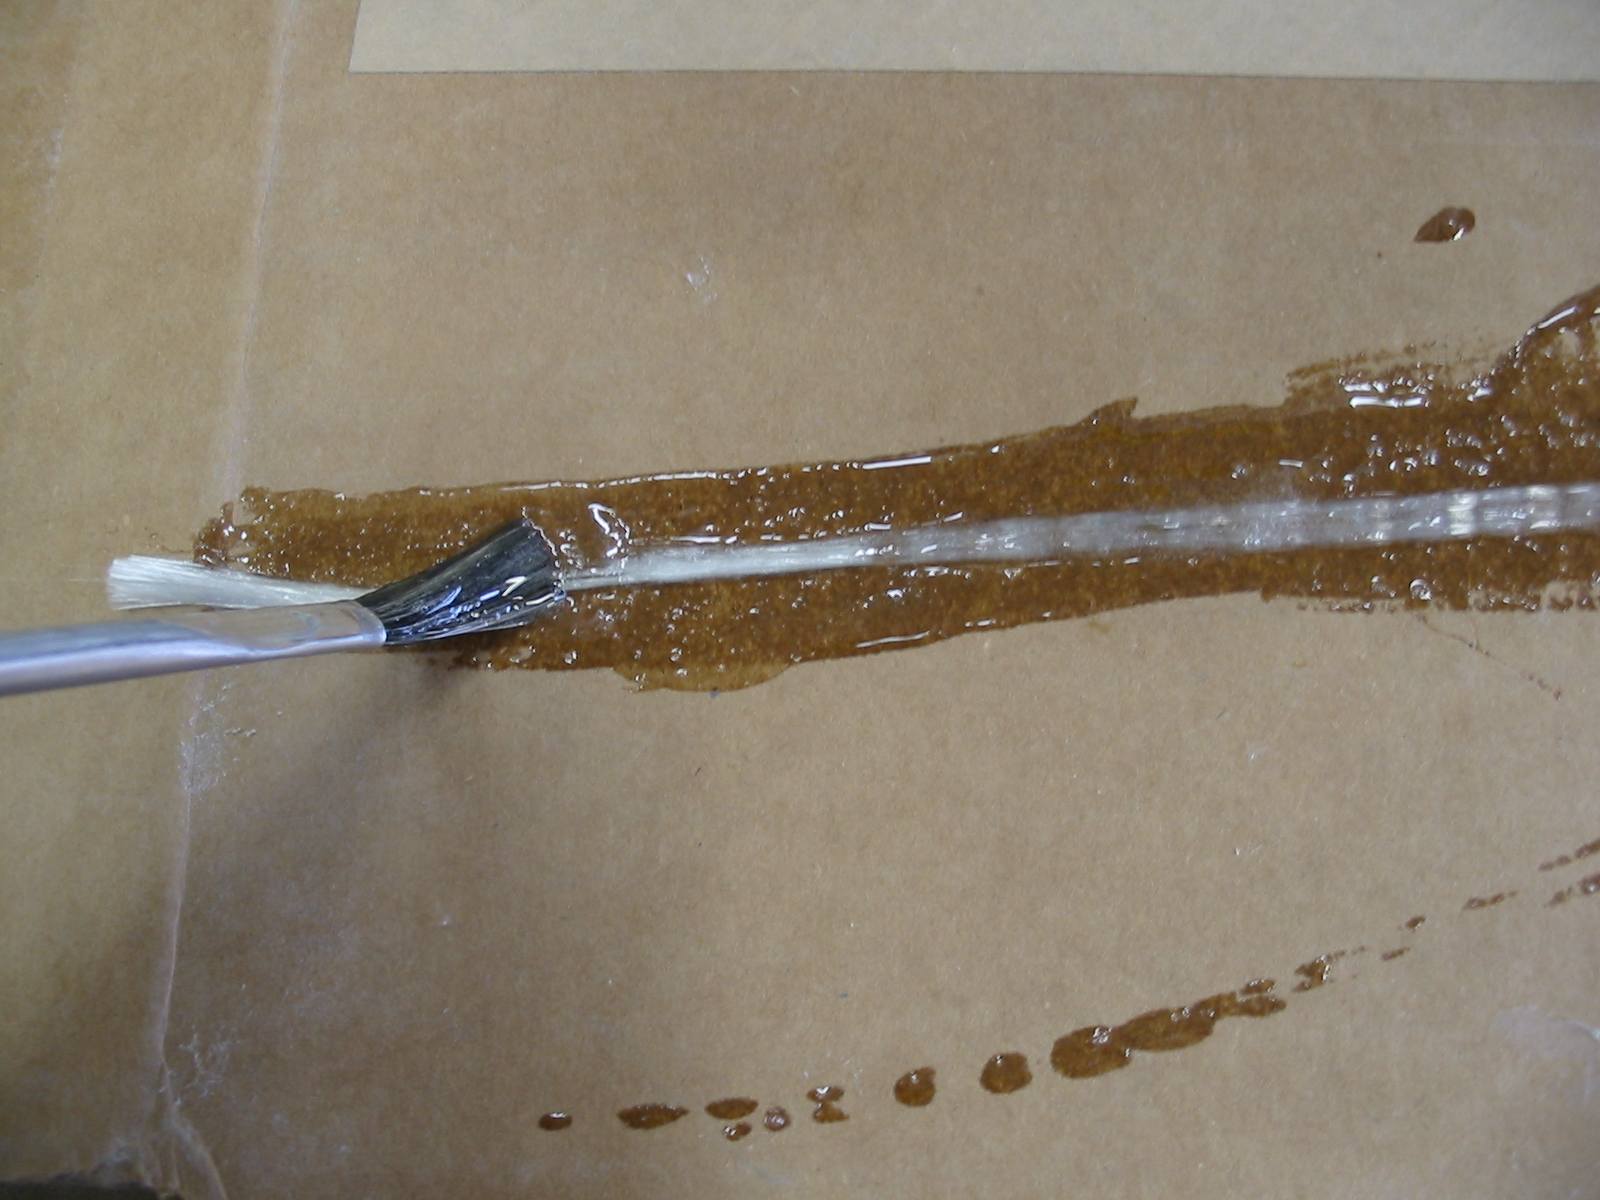
- Second, separate a cord from the woven roving,
be very careful that you do not handle the tow too much or the tiny
strand will start to separate (fray). Place it on a cardboard immediately
and apply your resin. Follow the instruction on mixing your epoxy or
polyester resin.
- Third, wet the tow. Do not worry about the length
of the tow and do not cut it while it is dry, it will fray and
become a big mess. It is easier to cut it with a scissor when wet and
much easier to handle and put inside the fuse. It does not have to be
a perfect perimeter length of the former, it will be easier to install
them in two short pieces than one long one, you can overlap short pieces
together. Brush the resin while holding one end of the fiberglass cord
then proceed to wet the entire cord. You can help the resin soak into
the tow using firm brush strokes.
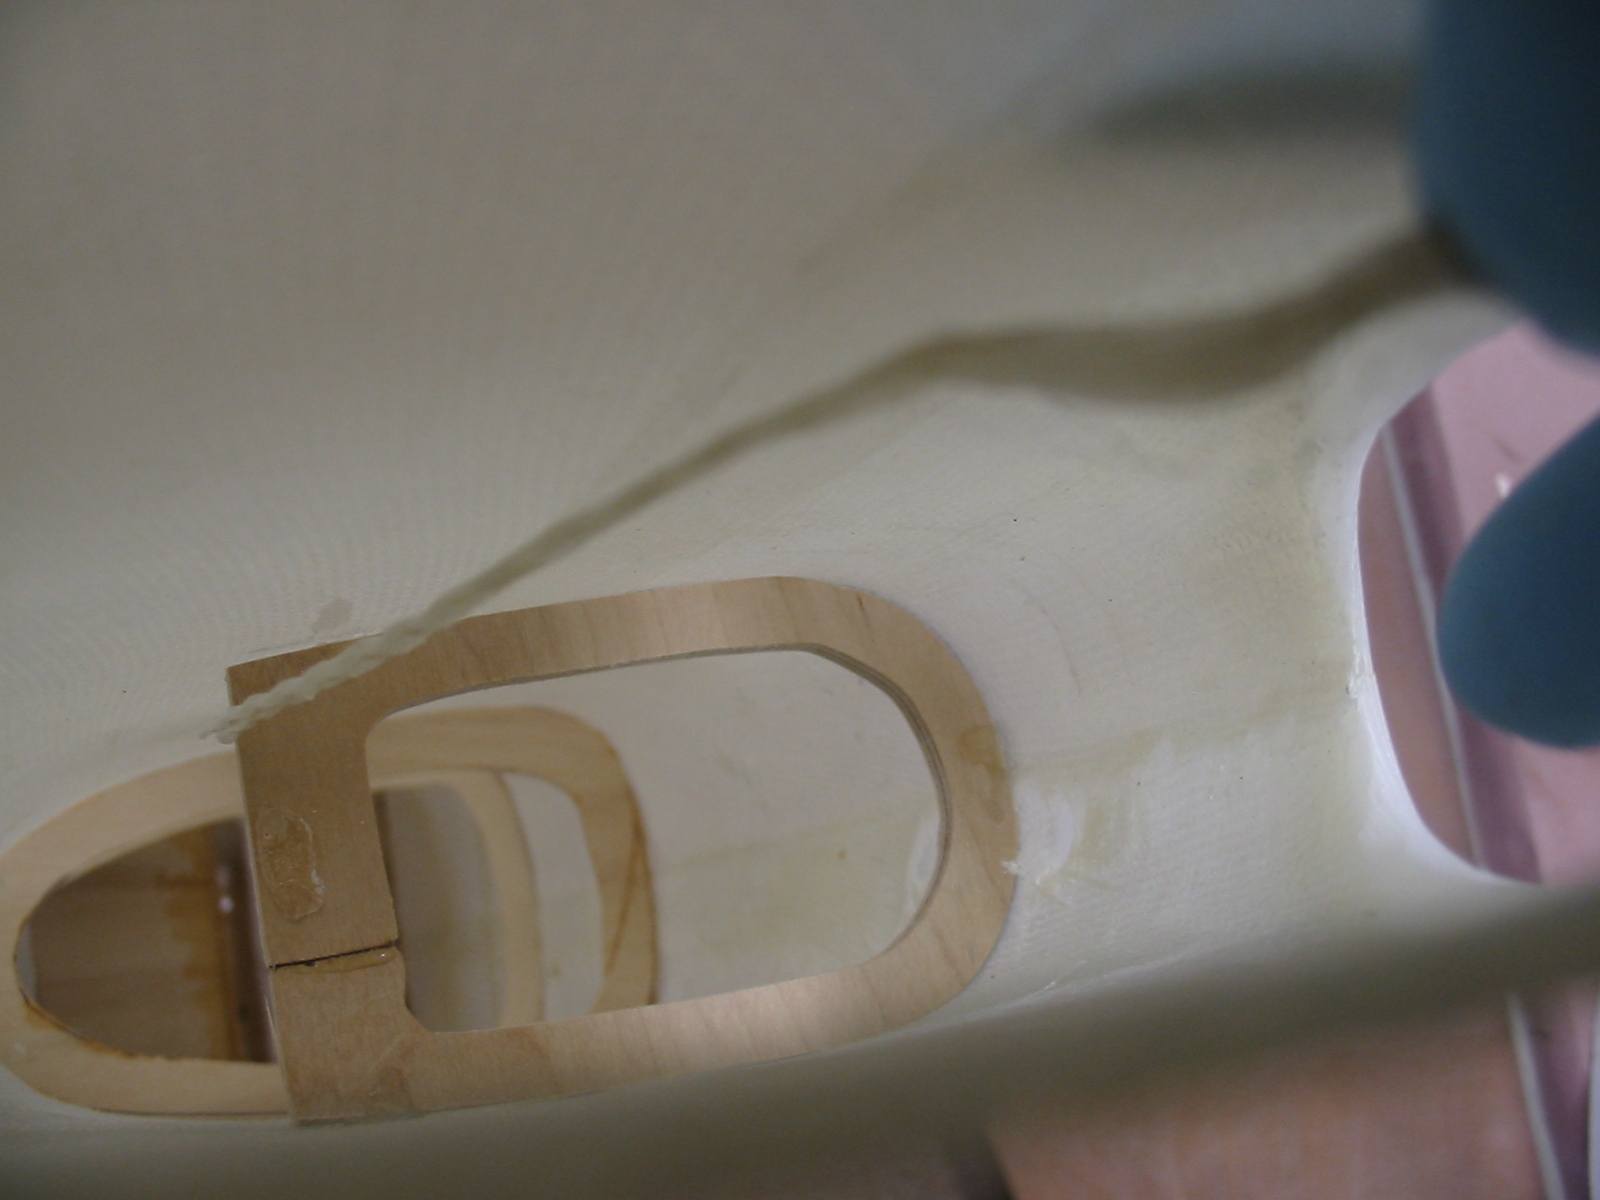
- Cut the tow to size and you need to position
it near the edge of the former. You can use your brush to position it
between the former and the fiberglass fuse. The example shown required
the use of an extension on my acid brush as the former was near the
small tail portion of the fiberglass fuse. I suggest practicing on a
former that is easily accessible.
- Work the glass tow toward the edge of the former
and have it meet up with the glass fuse.
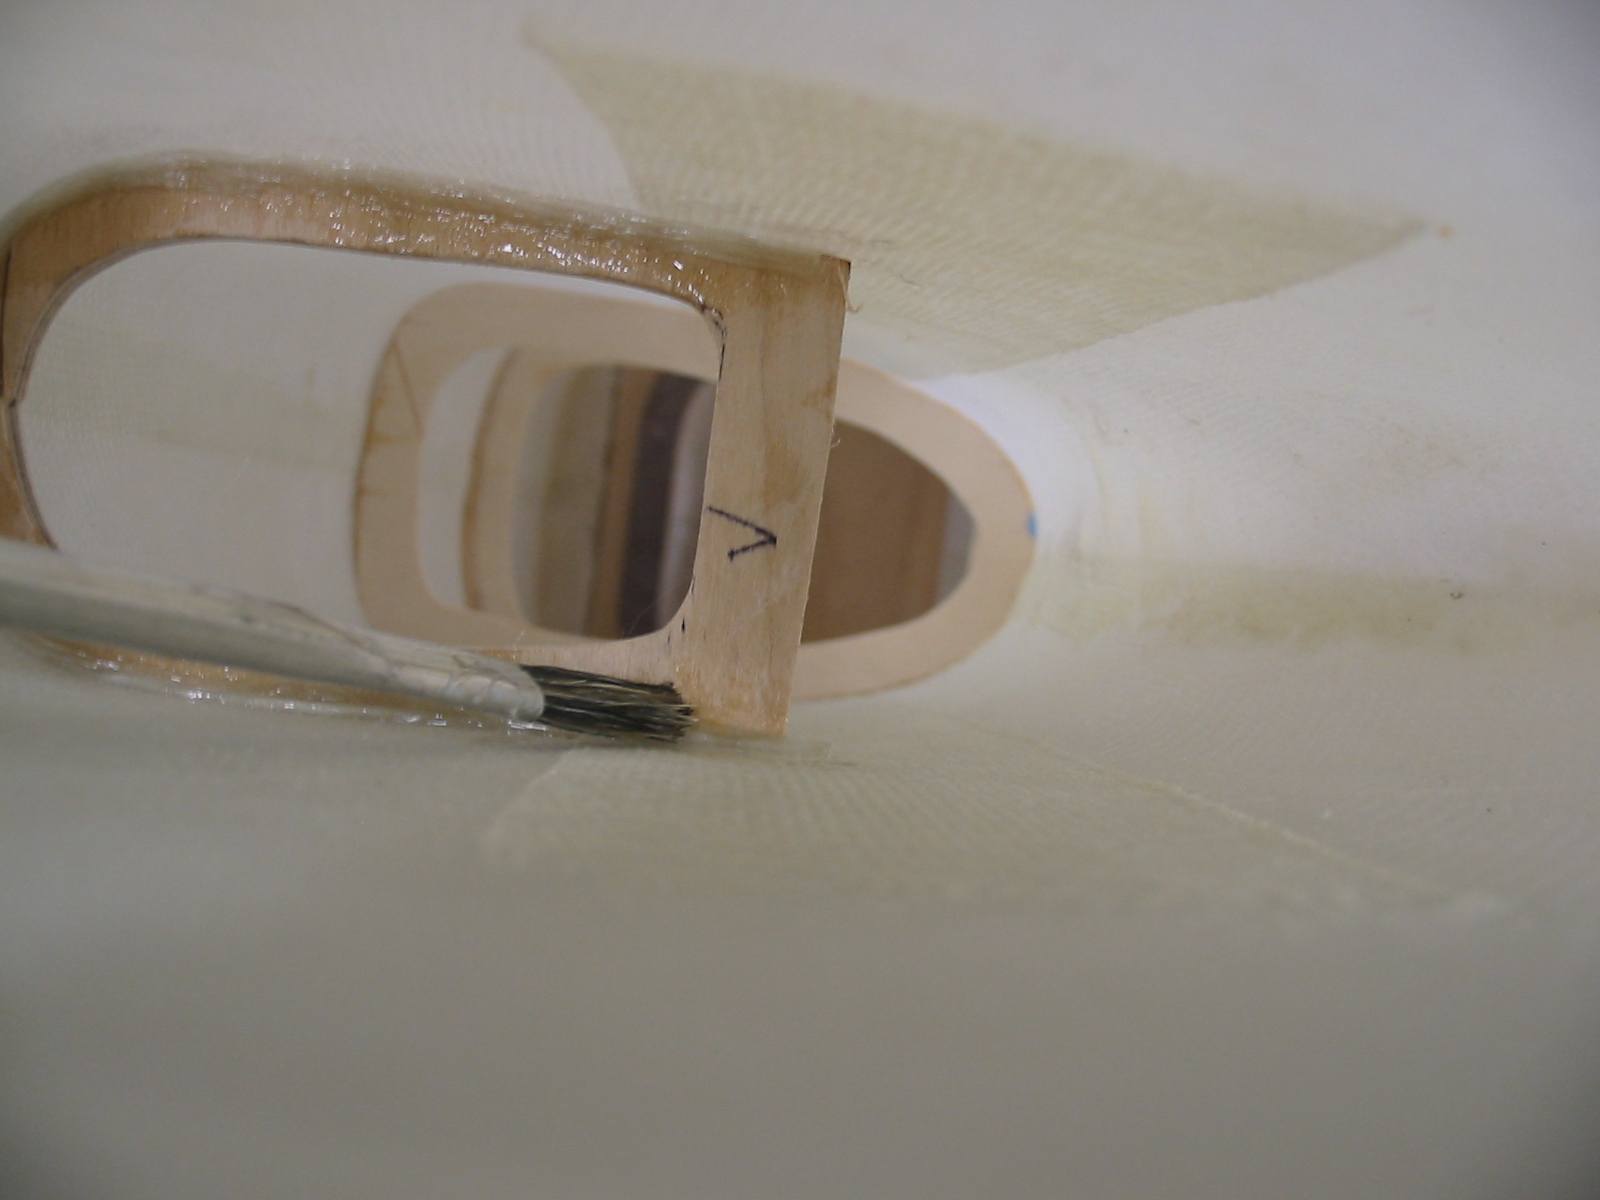
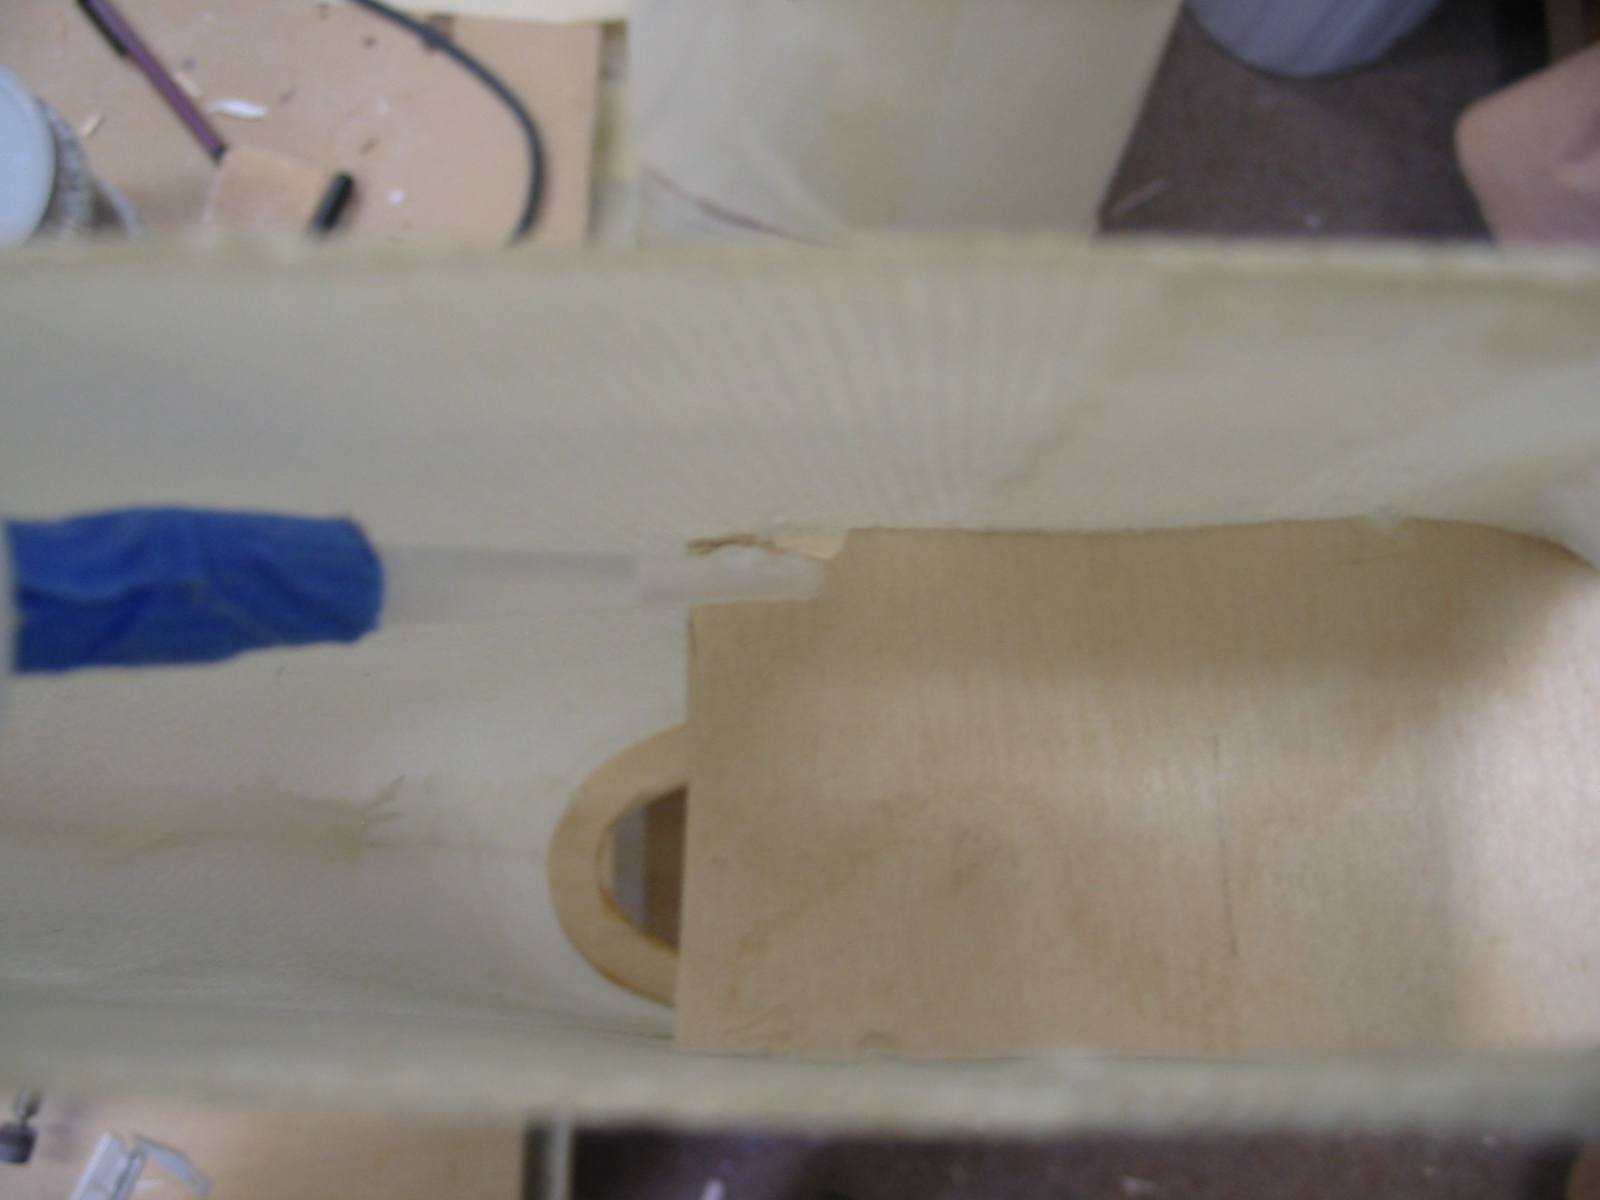
You see there is nothing to it. You now have a
strong joint to the glass fuse and a stronger former to boot. You can
also apply tow to the other side of the former and make it stronger...
the formers in this picture are only to keep the fiberglass fuse from
collapsing during transport, in this case I installed tow to one side
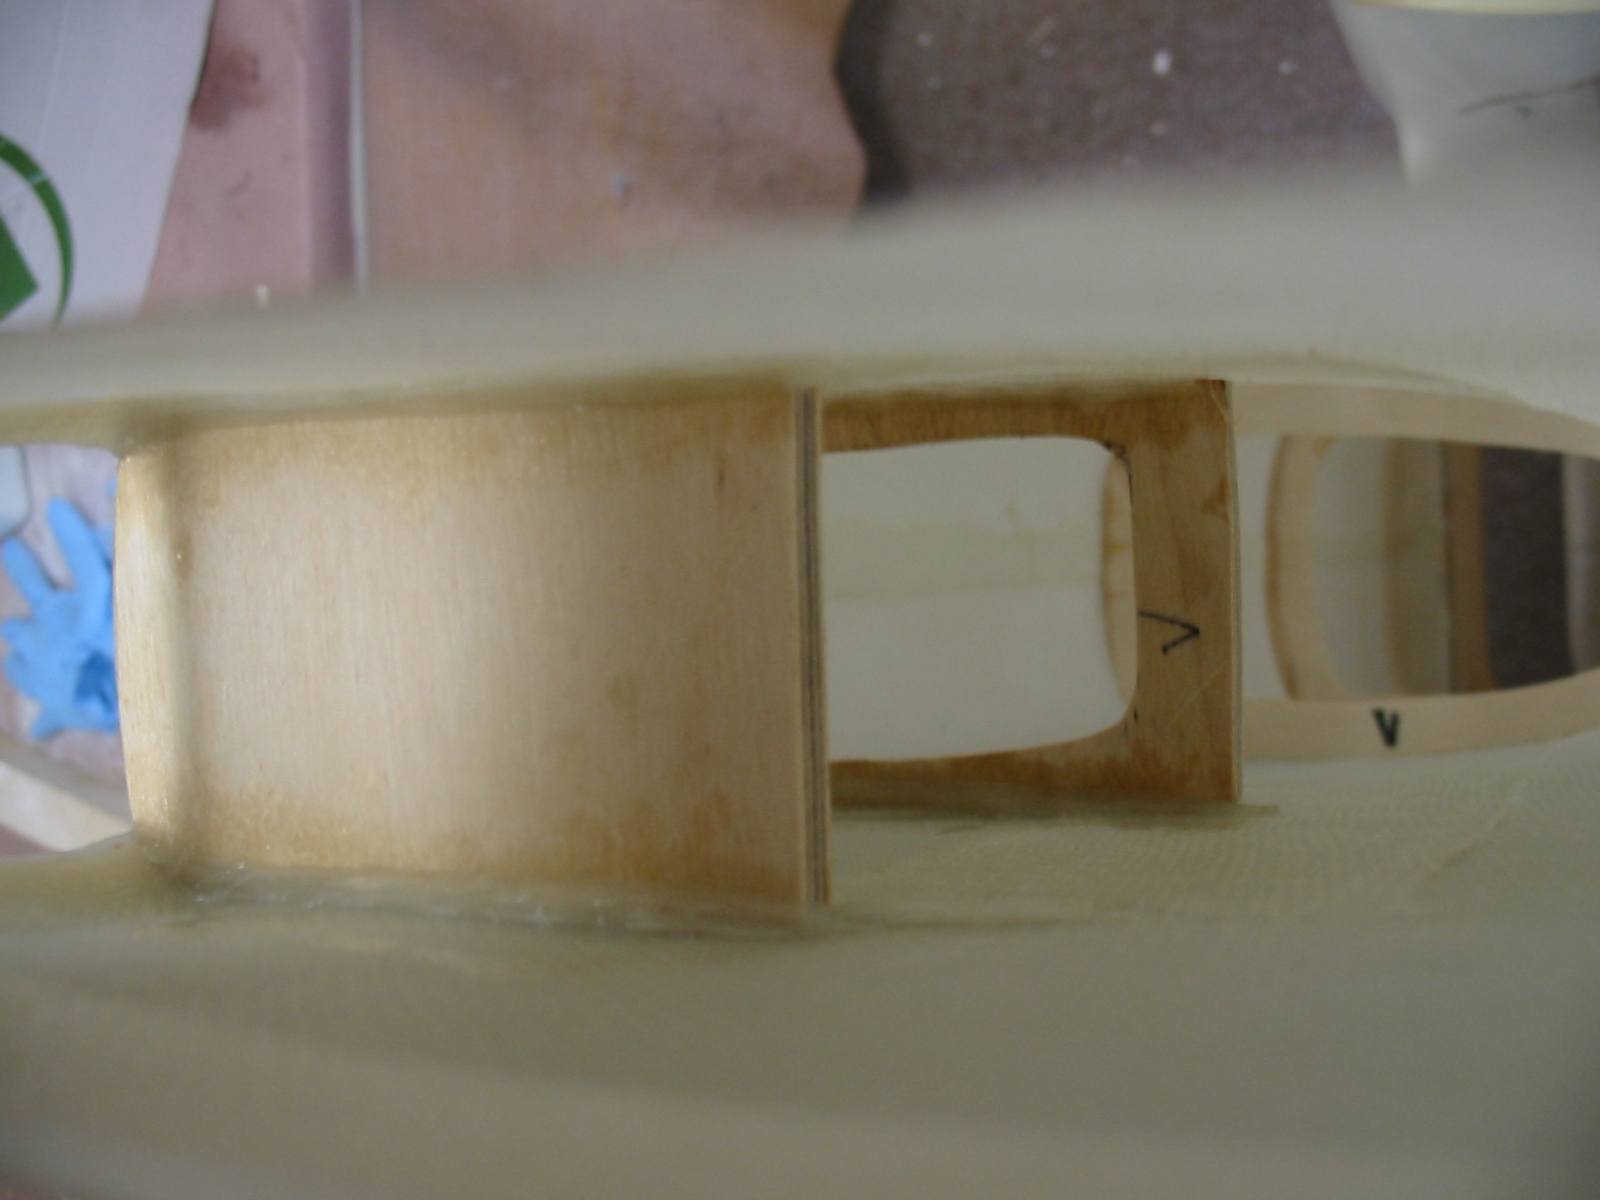
only. The next picture is a tail wheel former which I have applied tow
to both sides. You can also use carbon fiber tow to special formers for
added strength.
Good luck and I hope this method will
work for you as it has for me. |